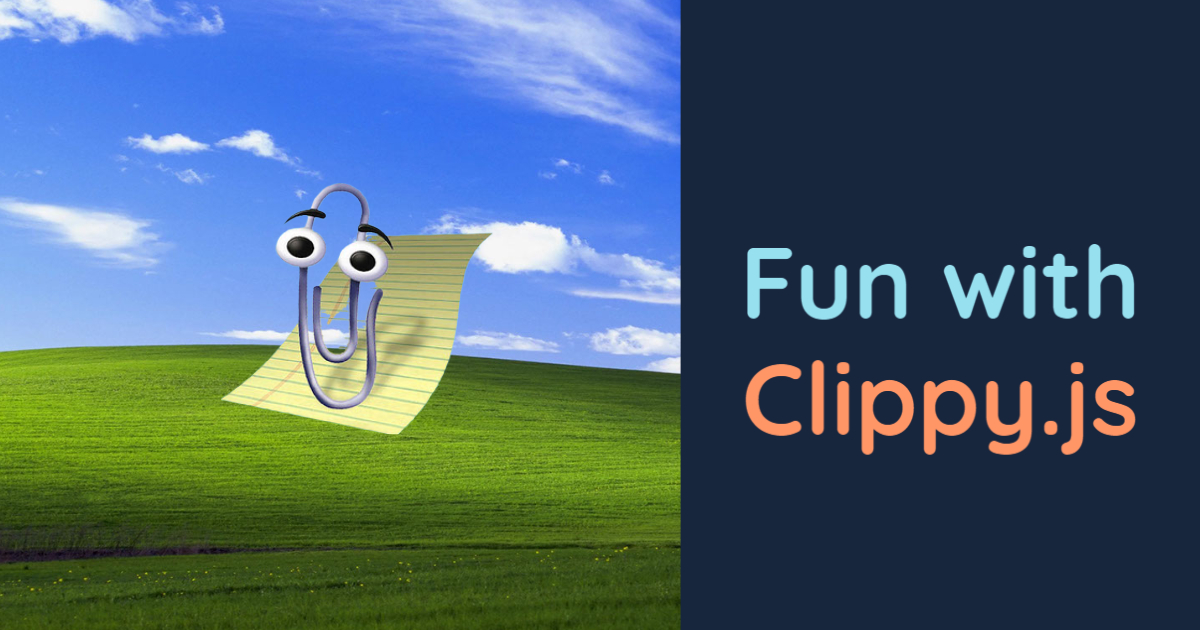
Fun with Clippy.js
Oliver Earl • • 6 min read
Javascript Software EngineeringRemember Clippy? The (not very) helpful assistant that was a major part of Microsoft Office for numerous years? Sure you do!
These interactive assistants were part of the Microsoft Agent suite of technologies and were incorporated into Windows XP as well. It was also infamously used in BonziBUDDY - the fun and interactive gorilla that also happened to be... spyware.
Whilst these technologies have been long mothballed in favour of more intelligent assistants like Siri and Cortana, Clippy and friends live on in our web browsers in the form of a fun jQuery library called Clippy.js.
Should I use it?
In a real-world project, probably not. It's out-of-date and requires the use of jQuery. It also loads agent data and sounds across the Internet from an Amazon S3 store. But is it fun? Yes!
By the way, if you're looking for ways to use Microsoft Agent in your .NET applications, you should look into DoubleAgent instead.
As far as I'm aware, there is a version that has been imported to vanilla JavaScript ES6, but I haven't experimented with it so far.
Installing and embedding Clippy.js
You can clone or download Clippy.js from its GitHub repository, here. You'll
want to pull the minified JavaScript file and CSS stylesheet from the build directory.
As for jQuery, you can choose to download that also (from their website) but I recommend using their official CDN, or content delivery network. The current version at this time of writing is 3.5.1, and including the minified version reduces the amount of data needed to be downloaded by your web browser.
Don't use out-of-date versions of jQuery unless you absolutely have to.
First, include the CSS stylesheet and necessary JavaScript files into the <head> tag of your webpage:
<head>

<!-- Include the Clippy.js stylesheet, assuming locally -->
<link rel="stylesheet" type="text/css" href="clippy.css" media="all">

<!-- jQuery -->
<script
        src="https://code.jquery.com/jquery-3.5.1.min.js"
        integrity="sha256-9/aliU8dGd2tb6OSsuzixeV4y/faTqgFtohetphbbj0="
        crossorigin="anonymous"
        defer
></script>

<!-- Clippy.js, assuming locally -->
<script src="clippy.min.js" defer></script>

</head>
If you don't include the defer attribute on your scripts, then you should insert them into the footer of the webpage
to ensure that they only begin loading once your page has finished loading - it's also important that you include
Clippy.js after jQuery.
Usage
You can write your jQuery for playing with your agent in-line or in an external file, but for our examples, let's
keep everything within a <script> tag.
First you should note that you have a choice of multiple agents that Clippy.js supports, including but not limited to:
- Clippy - obviously
- Peedy, the parrot
- Rover, the dog from Windows XP
- Bonzi, the purple gorilla
Let's use Clippy and get it to appear.
<script>
  clippy.load('Clippy', function(agent) {
    agent.show();
    agent.speak('Hello World!');
  });
</script>
With any luck, it should appear and greet us! You can find a full list of available action actions from its aforementioned GitHub repository.
Building a very basic action generator
See the Pen Clippy.js by Oliver Earl (@oliverearl) on CodePen.
We're going to build a very basic program that constructs an agent and has them go through each of their animations, one by one. You can follow along or take a look at the above CodePen. If it isn't appearing for you, you can click [here][https://codepen.io/oliverearl/pen/OJXVJNz) to get it.
Let's add a heading and a paragraph element to our webpage. The paragraph will have an ID that we can target with jQuery later. You can use whatever CSS styling you want - I've just replaced the default text font with sans-serif for now.
<main>
  <h1>Current animation:</h1>
  <p id="state">None</p>
</main>
Let's declare a new function that will take two parameters - an agent and the agent's animations. I'm assuming absolute
basic JavaScript knowledge, so I'll keep things as simple as I can. Add this underneath the }); of the last block of
code, but still before </script>.
In the block before it, let's use the JavaScript function setTimeout() to call this new function after a few seconds
have passed - we will pass our initialised agent and its available animations as arguments, and set a time of 8000
milliseconds - 8 seconds. It should look like this:
<script>
  clippy.load('Clippy', function(agent) {
    agent.show();
    agent.speak('Hello World!');

    setTimeout(animate(agent, agent.animations()), 8000);
  });

  function animate(agent, animations) {
    // Code will go here
  }
</script>
Let's consider what we need to do by decomposing the problem, we want to:
- Loop through all of the available animations
- Have Clippy perform that animation
- Print out what animation Clippy is performing to the paragraph tag.
In our new function, we can use a jQuery element selector to store our paragraph HTML element in a variable. jQuery variables are typically denoted by a $ sign. We can put this before our loop so that it doesn't get redeclared on each iteration.
let $currentAnimation = $("#state");
Now let's consider the loop. We can use a basic For loop to iterate through the animations, as we know exactly how many
times we need to loop through (by measuring the length of animations). Within the loop, we can have Clippy perform
said animation, and use jQuery to update our paragraph using its built-in text() function.
function animate(agent, animations) {
  let $currentAnimation = $("#state");

  for (let i = 0; i < animations.length; i++) {
    agent.play(animations[i];
    $currentAnimation.text(animations[i]);
  }
}
It looks good! But there's a problem. Can you work out what it is?
Computers are fast, and Clippy.js uses a queue system to asynchronously perform animations, meaning that the text will
update to the very last entry whilst Clippy performs each animation in its queue. We need to slow down this execution
using the setTimeout() function that we used earlier:
function animate(agent, animations) {
  let $currentAnimation = $("#state");

  for (let i = 0; i < animations.length; i++) {
    setTimeout(function () {
      agent.play(animations[i]);
      $currentAnimation.text(animations[i]);
    }, i * 8000);
  }
}
Conclusion
And that's it! I hope that you've had a little bit of fun with Clippy.js. Please feel free to fork the CodePen and build something uniquely your own. I hear other developers have managed to embed their own agents inside React or Electron apps, which is both impressive and uniquely horrifying.
Until next time!